Creating a Static Serverless Website Using AWS and Infrastructure as Code (Tutorial Part 1)

Source Code for the Tutorial
https://github.com/ZachManno/zach-manno-dot-io
This tutorial is part 1 of a series of tutorials of creating a fully serverless web application on AWS using mostly infrastructure as code (IoC). See the intro for an overview. In this tutorial we will:
- Create an AWS account and download the AWS CLI
- Install the Serverless Framework to deploy an S3 bucket
- Use Route53 to create our own domain name and routing record so users can access our site
- Upload a blog template's HTML/CSS/JS files to the bucket for a professional looking site!
Setting up your AWS account
First, follow these instructions to set up your AWS account and create an admin user:
Set Up an AWS Account
and Create an Administrator User
Next, install the AWS CLI:
Installing or updating the latest version of the AWS CLI
After installing the AWS CLI, go back to your AWS UI login (referred to as "AWS Console"). We
now have to create an Access Key for the admin user. We need this so we can give the
AWS CLI programmatic access to your AWS account.
Follow the instructions in the "To create, modify, or delete another IAM user's access keys
(console)" section:
Managing Access Keys
Once you have the CSV file with access key ID and secret access key you can run the AWS CLI
command
aws configure in your terminal and it will prompt you for those two items.
Now you can create, update, and destroy AWS infrastructure programmatically in your AWS account!
Install the Serverless framework
We are going to install the Serverless framework which will allow us to create an S3 bucket and update the content files in that S3 bucket without having to use the AWS Console, only code. Read the Serverless documentation https://www.serverless.com if you want more clarity on any of these steps.
Install node and serverless from the command line in the top level of your repo:
brew install node

npm install -g serverless
Install the Serverless S3 plugin and create your project:
serverless plugin install -n serverless-s3-sync

serverless create -t hello-world -n zach-manno-io -p zachmanno.io
Cd into the directory created and edit the Servless configuration file created for you to add an S3 bucket. Use the following as an example and adjust the names for your website:
# Welcome to serverless. Read the docs
# https://serverless.com/framework/docs/

# Serverless.yml is the configuration the CLI
# uses to deploy your code to your provider of choice

# This serverless.yml file deploys content in the /static folder to
# an S3 bucket which will host the frontend static web content

# The `service` block is the name of the service
service: zach-manno-io

frameworkVersion: '3'

# The `provider` block defines where your service will be deployed
# Put your provider as AWS
provider:
  name: aws
  runtime: nodejs12.x

# Create the S3 bucket here
resources:
  Resources:
    # Enable static site hosting on the bucket
    StaticSite:
      Type: AWS::S3::Bucket
      Properties:
        AccessControl: PublicRead
        # The bucket name will be the same as your site name.
        # We will create custom variables for this later in the file
        BucketName: ${self:custom.siteName}
        WebsiteConfiguration:
          IndexDocument: index.html
    # Create the bucket policy as public access
    StaticSiteS3BucketPolicy:
      Type: AWS::S3::BucketPolicy
      Properties:
        Bucket:
          Ref: StaticSite
        PolicyDocument:
          Statement:
            - Sid: PublicReadGetObject
              Effect: Allow
              Principal: "*"
              Action:
                - s3:GetObject
              Resource:
                Fn::Join: [
                    "", [
                      "arn:aws:s3:::",
                    {
                      "Ref": "StaticSite"
                    },
                      "/*"
                  ]
                ]
# Add this so you can deploy your local static/ files to the S3 bucket when you make changes
plugins:
  - serverless-s3-sync

# Custom variables used above
custom:
  # This is what your url is going to be
  siteName: zachmanno.io
  s3Sync:
    - bucketName: ${self:custom.siteName}
      # Your HTML/CSS/JS files will be in this folder in your local directory
      localDir: static
Run the serverless command to deploy your S3 bucket!
serverless deploy
Make a directory named "static" that will store your web content (directory name should be the same as the "localDir" param in the serverless.yml file). In the static/ directory, create a basic index.html file. Once we complete the next section you'll be able to go to your website and see it!
<!doctype html>
<html>
  <head>
    <title>Zach Manno's Website</title>
  </head>
  <body>
    <p>Welcome to my site!</p>
  </body>
</html>
Register the domain name and create Route 53 record
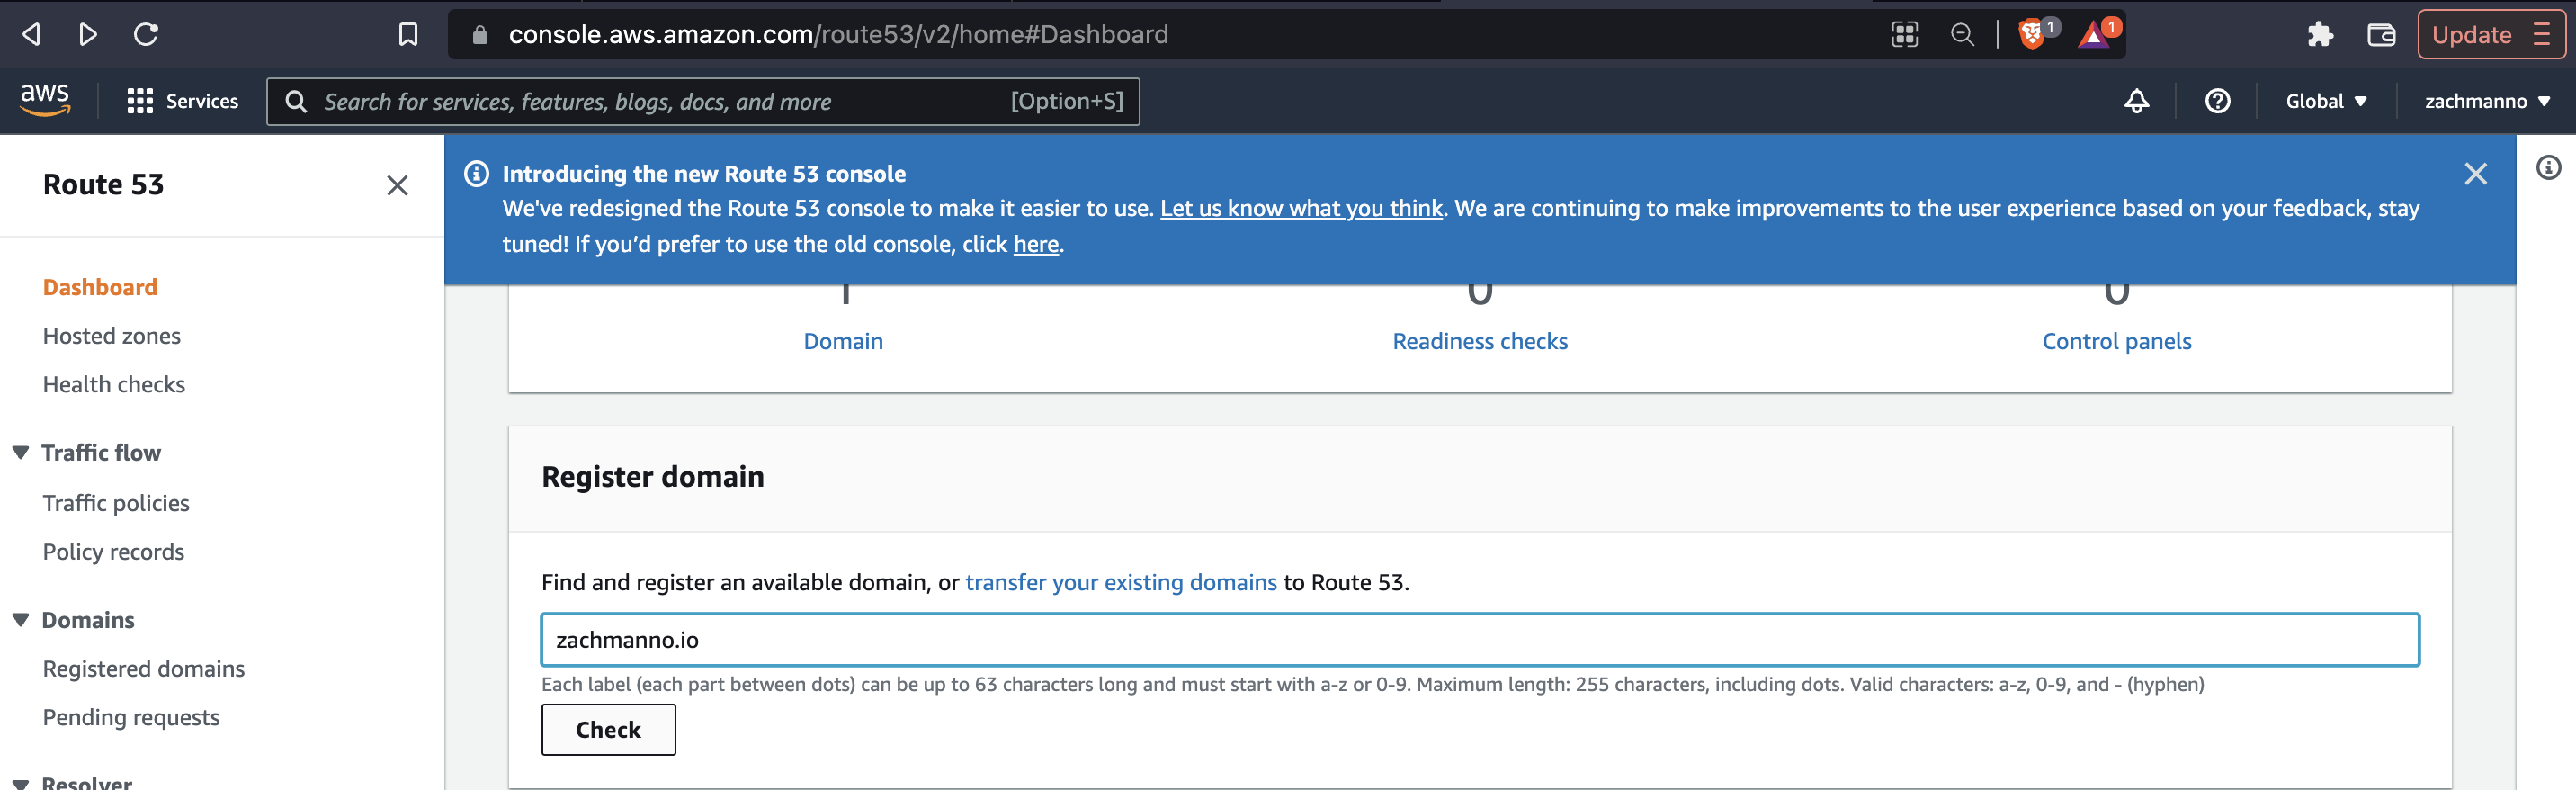
For this part, we will be using the AWS console. Login and go to the "Route 53" console.
You can search "Route 53" in the "Search for Services" search bar. Scroll down and enter your
domain name in the "Register Domain" section and click "check". Make sure the domain is the
exact same as your
"siteName" variable in the serverless.yml file. If your intended domain is unavailable you'll
have to update and
run the serverless deploy command again.
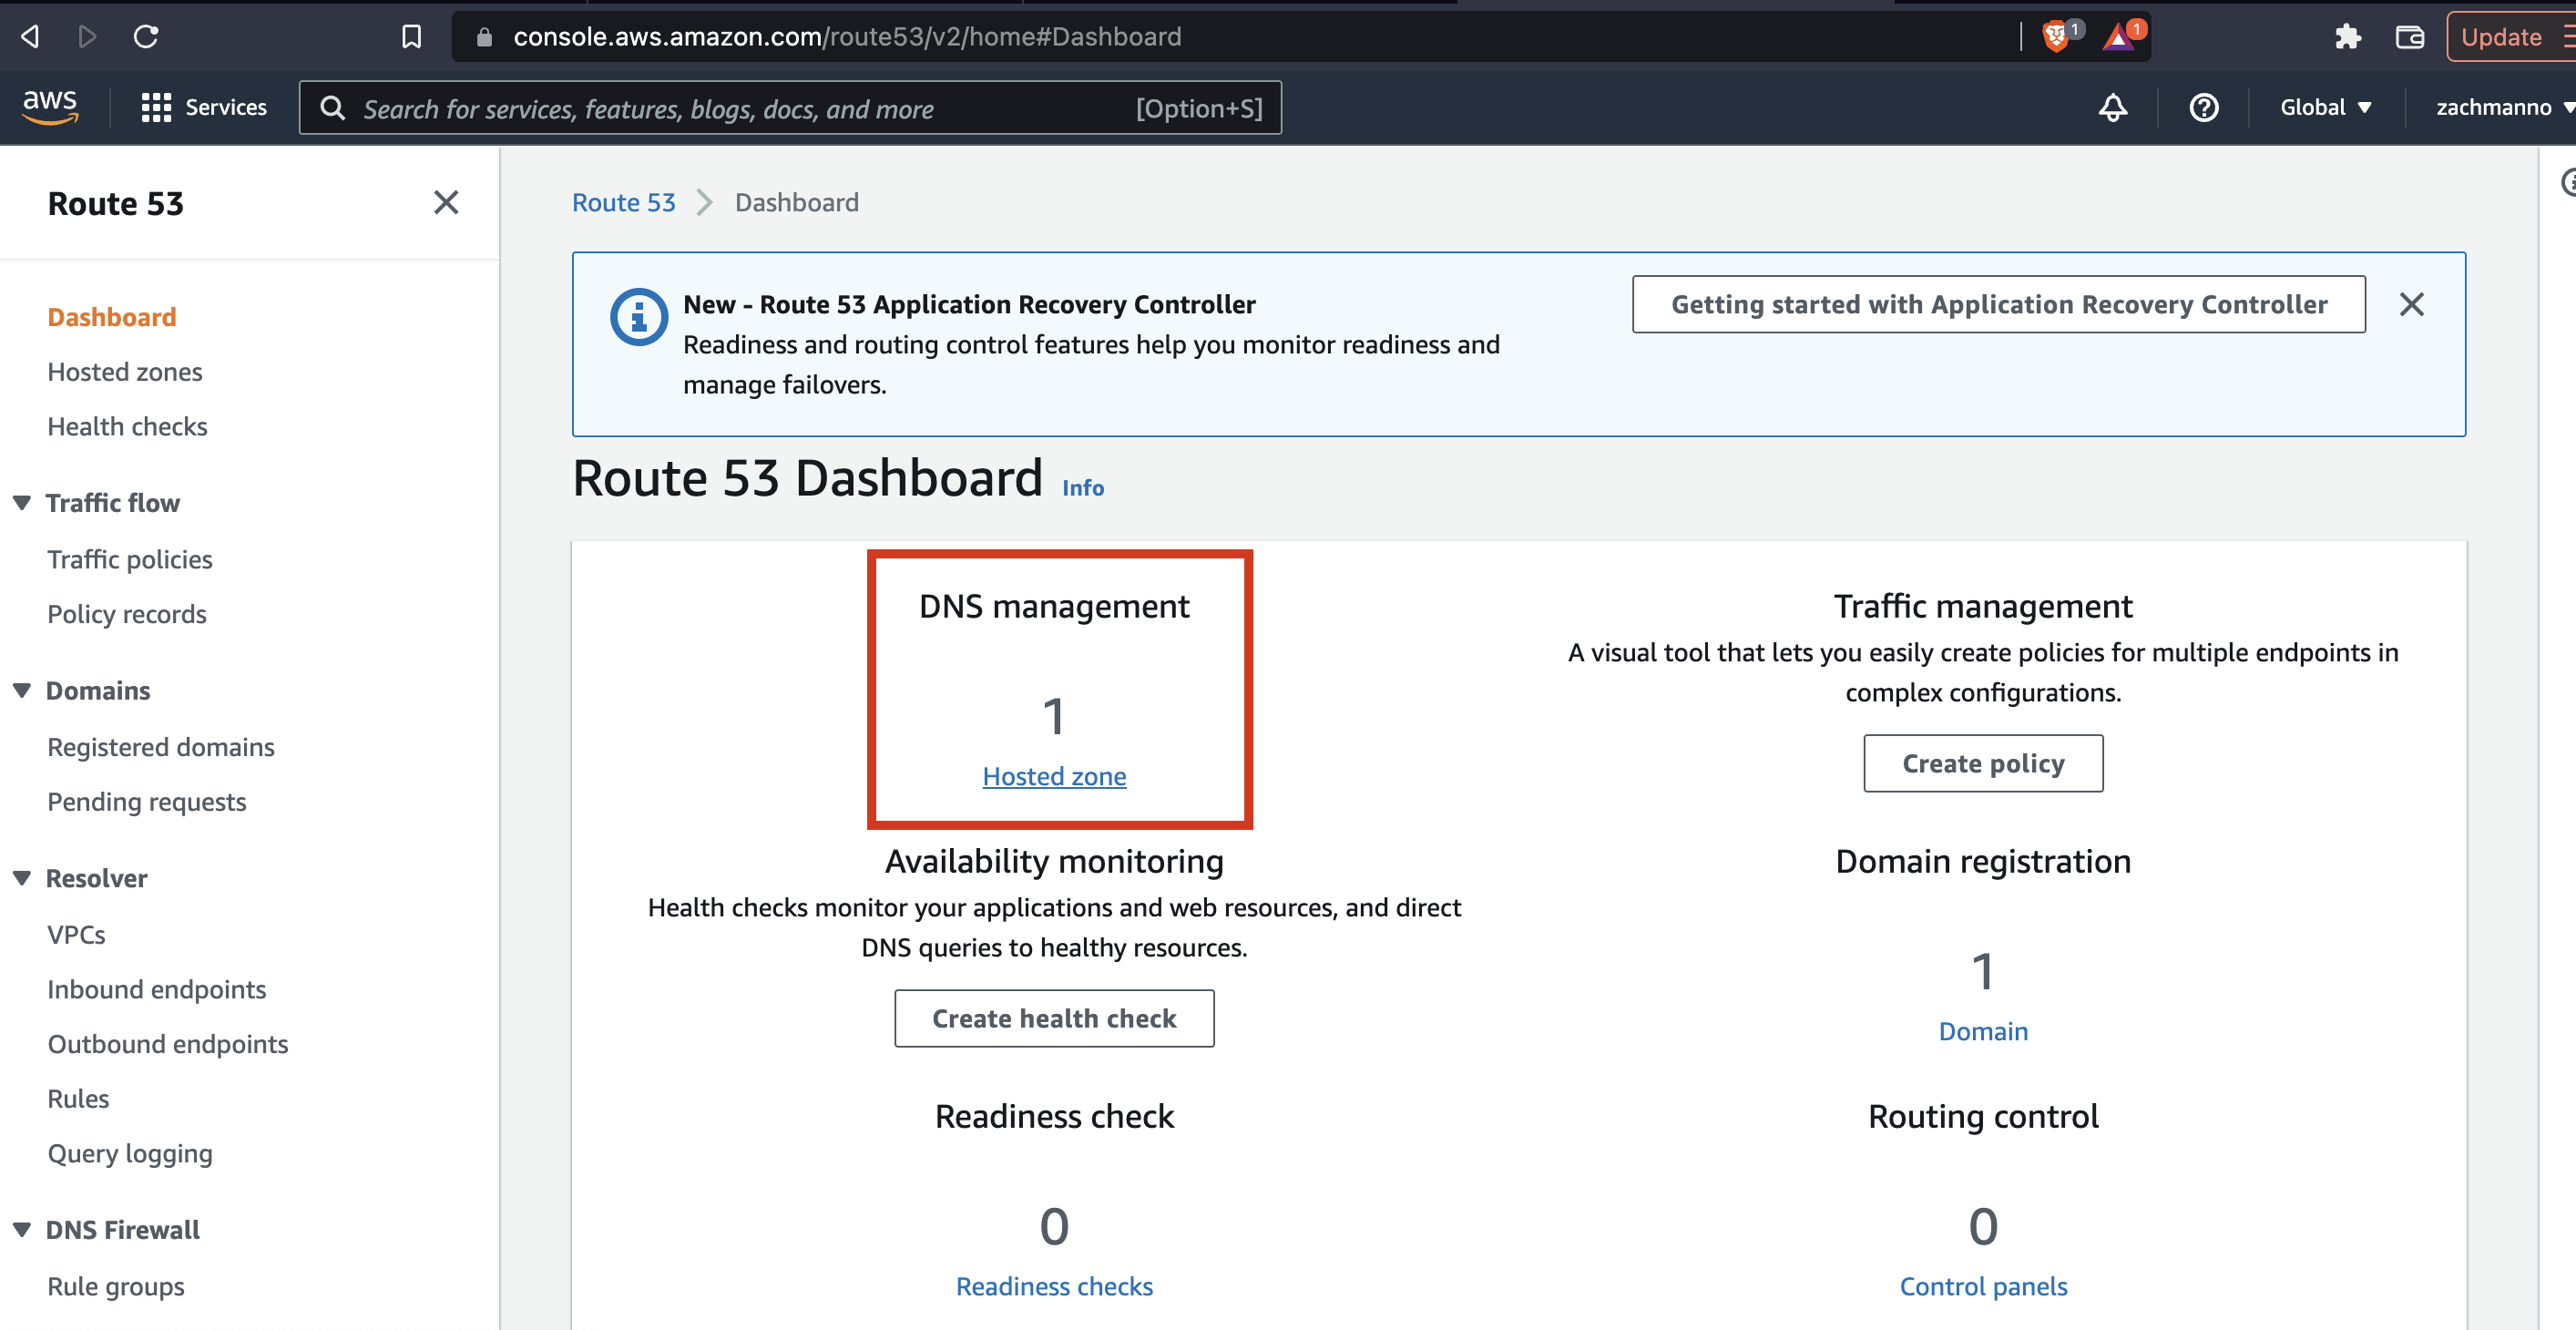
Go through all of the steps of purchasing the domain, and be sure to click "create hosted zone" when prompted. Now you should have a hosted zone for your domain:
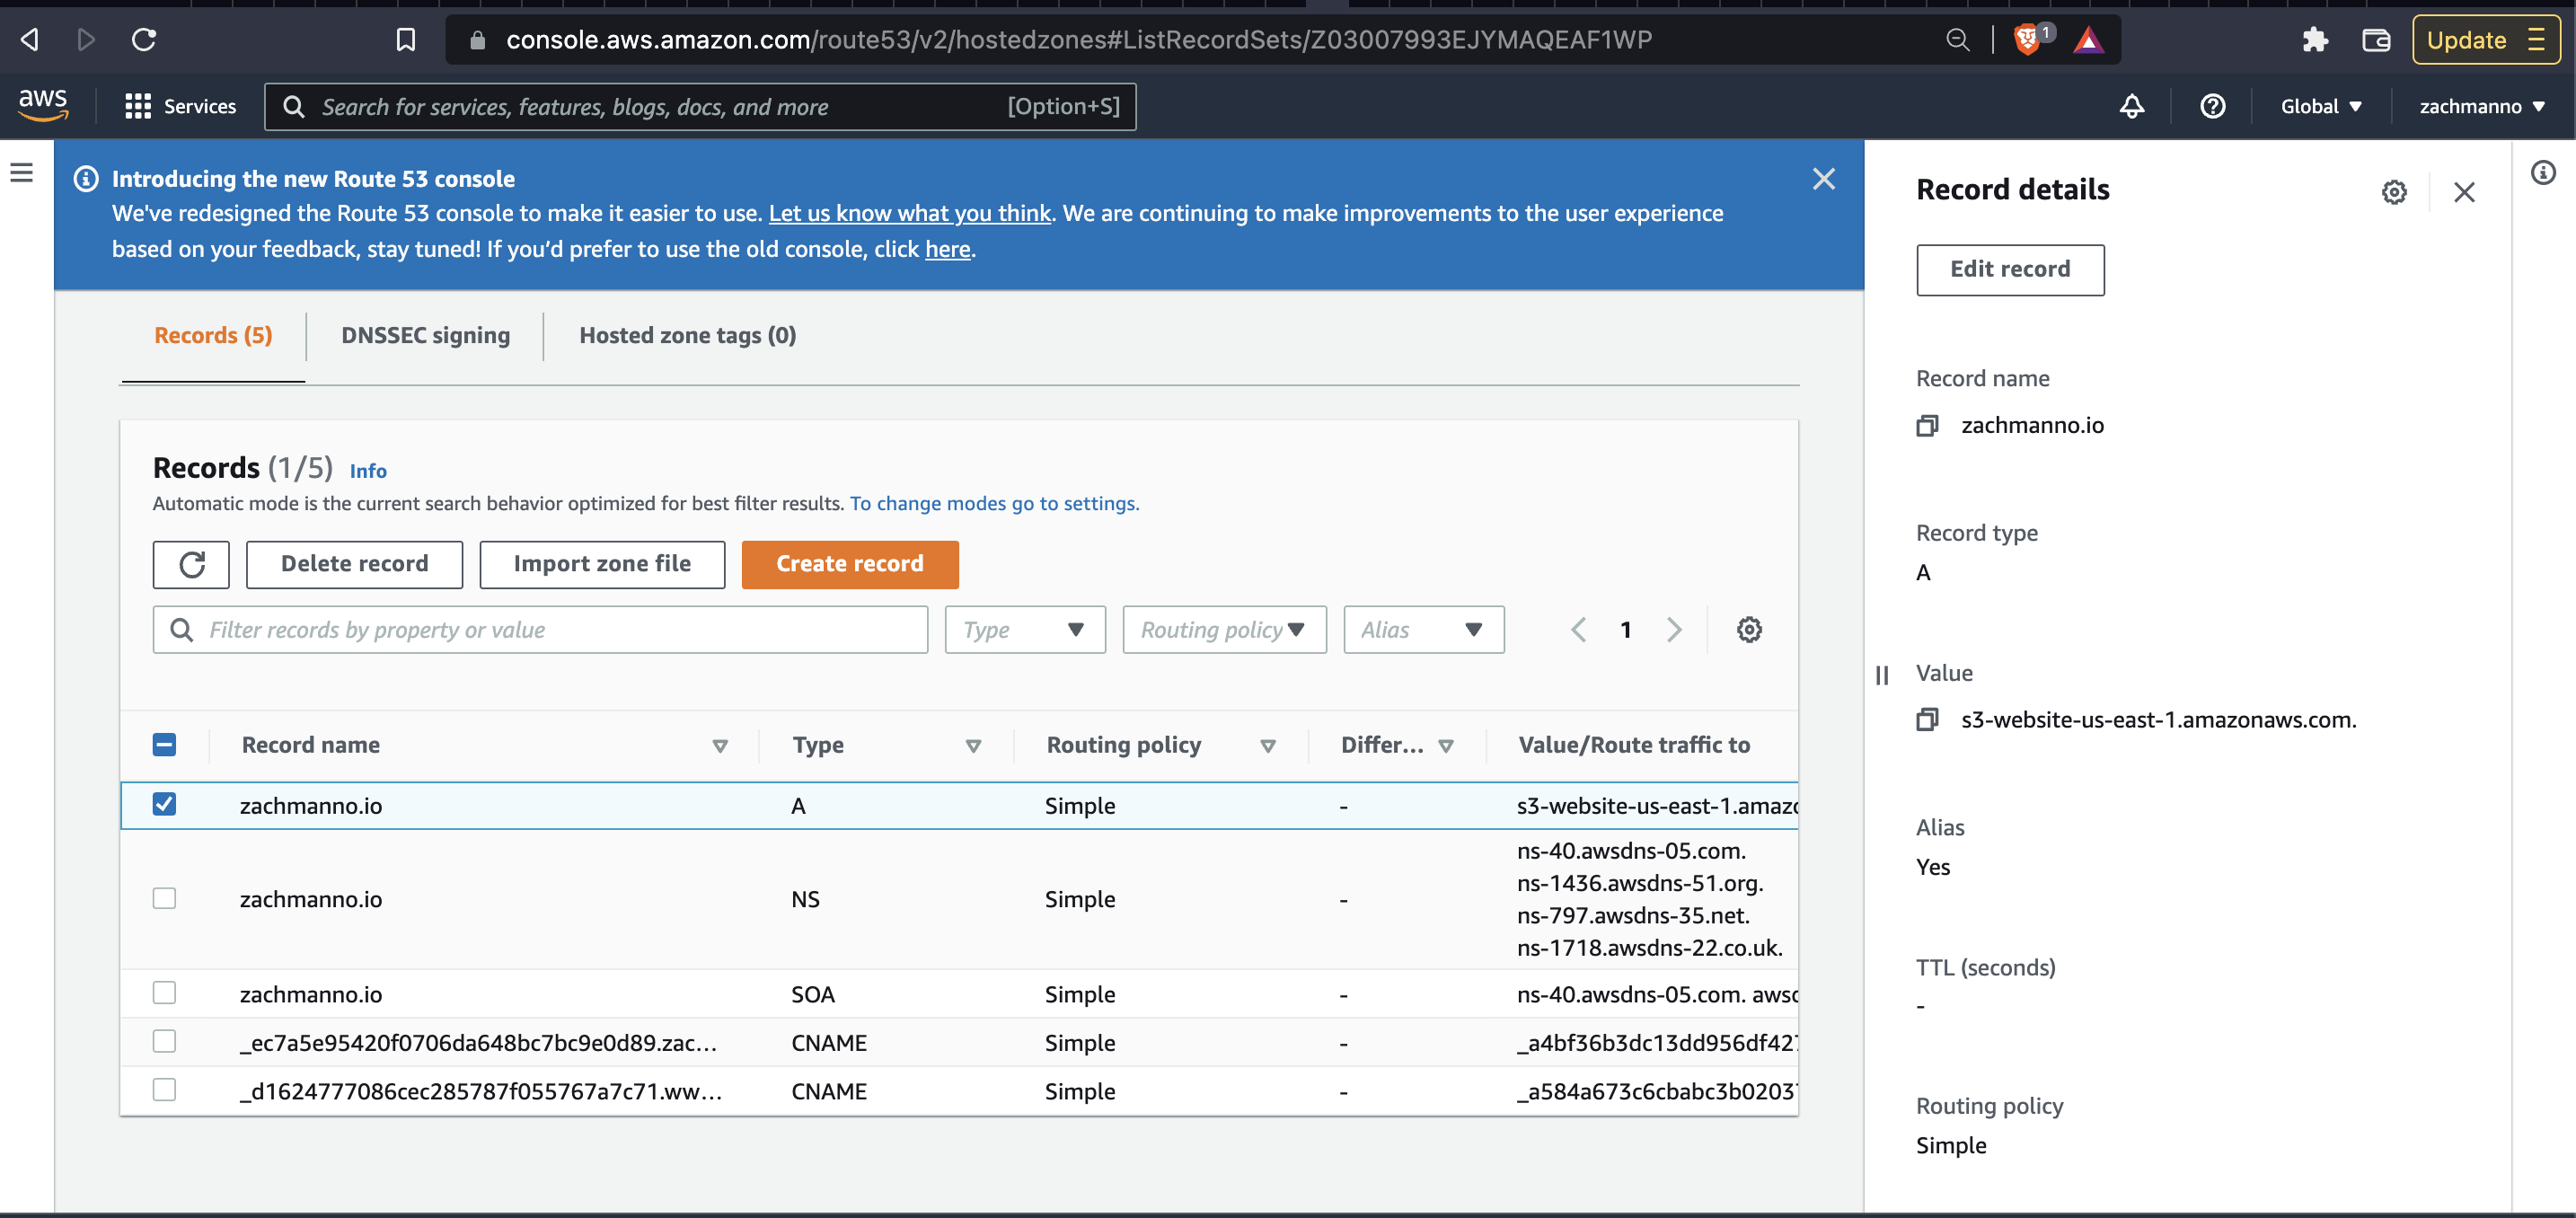
Click into the hosted zone created and then click into the domain name. Now, create an
A record with the value as the S3 website format:
s3-website-Region.amazonaws.com
You should now be able to go to your site and
you should see your index.html as your site!
(Make sure you go to http://your-domain.com, not https)
Bootstrap Blog Starter Template
Now it's time to get us an actual website! This is where we'll pull the template from:
https://github.com/StartBootstrap/startbootstrap-blog-home
Make a directory for the template, clone the repo and install the template using NPM:
mkdir template
cd template
git clone https://github.com/StartBootstrap/startbootstrap-blog-home.git
cd startbootstrap-blog-home
npm i startbootstrap-blog-home
npm install
npm run build
This creates all the files needed for the site in the /dist directory. Copy this
folder
to the /static folder, make any modifications you'd like, and deploy your new site!
cp -R dist/ ../../static/
cd ../../
serverless deploy
That's it for part 1. You'll notice your browser has your site as "not secure". Stay tuned for part 2 where we will create a Cloudfront distribution and SSL certificate! Thanks for reading!!