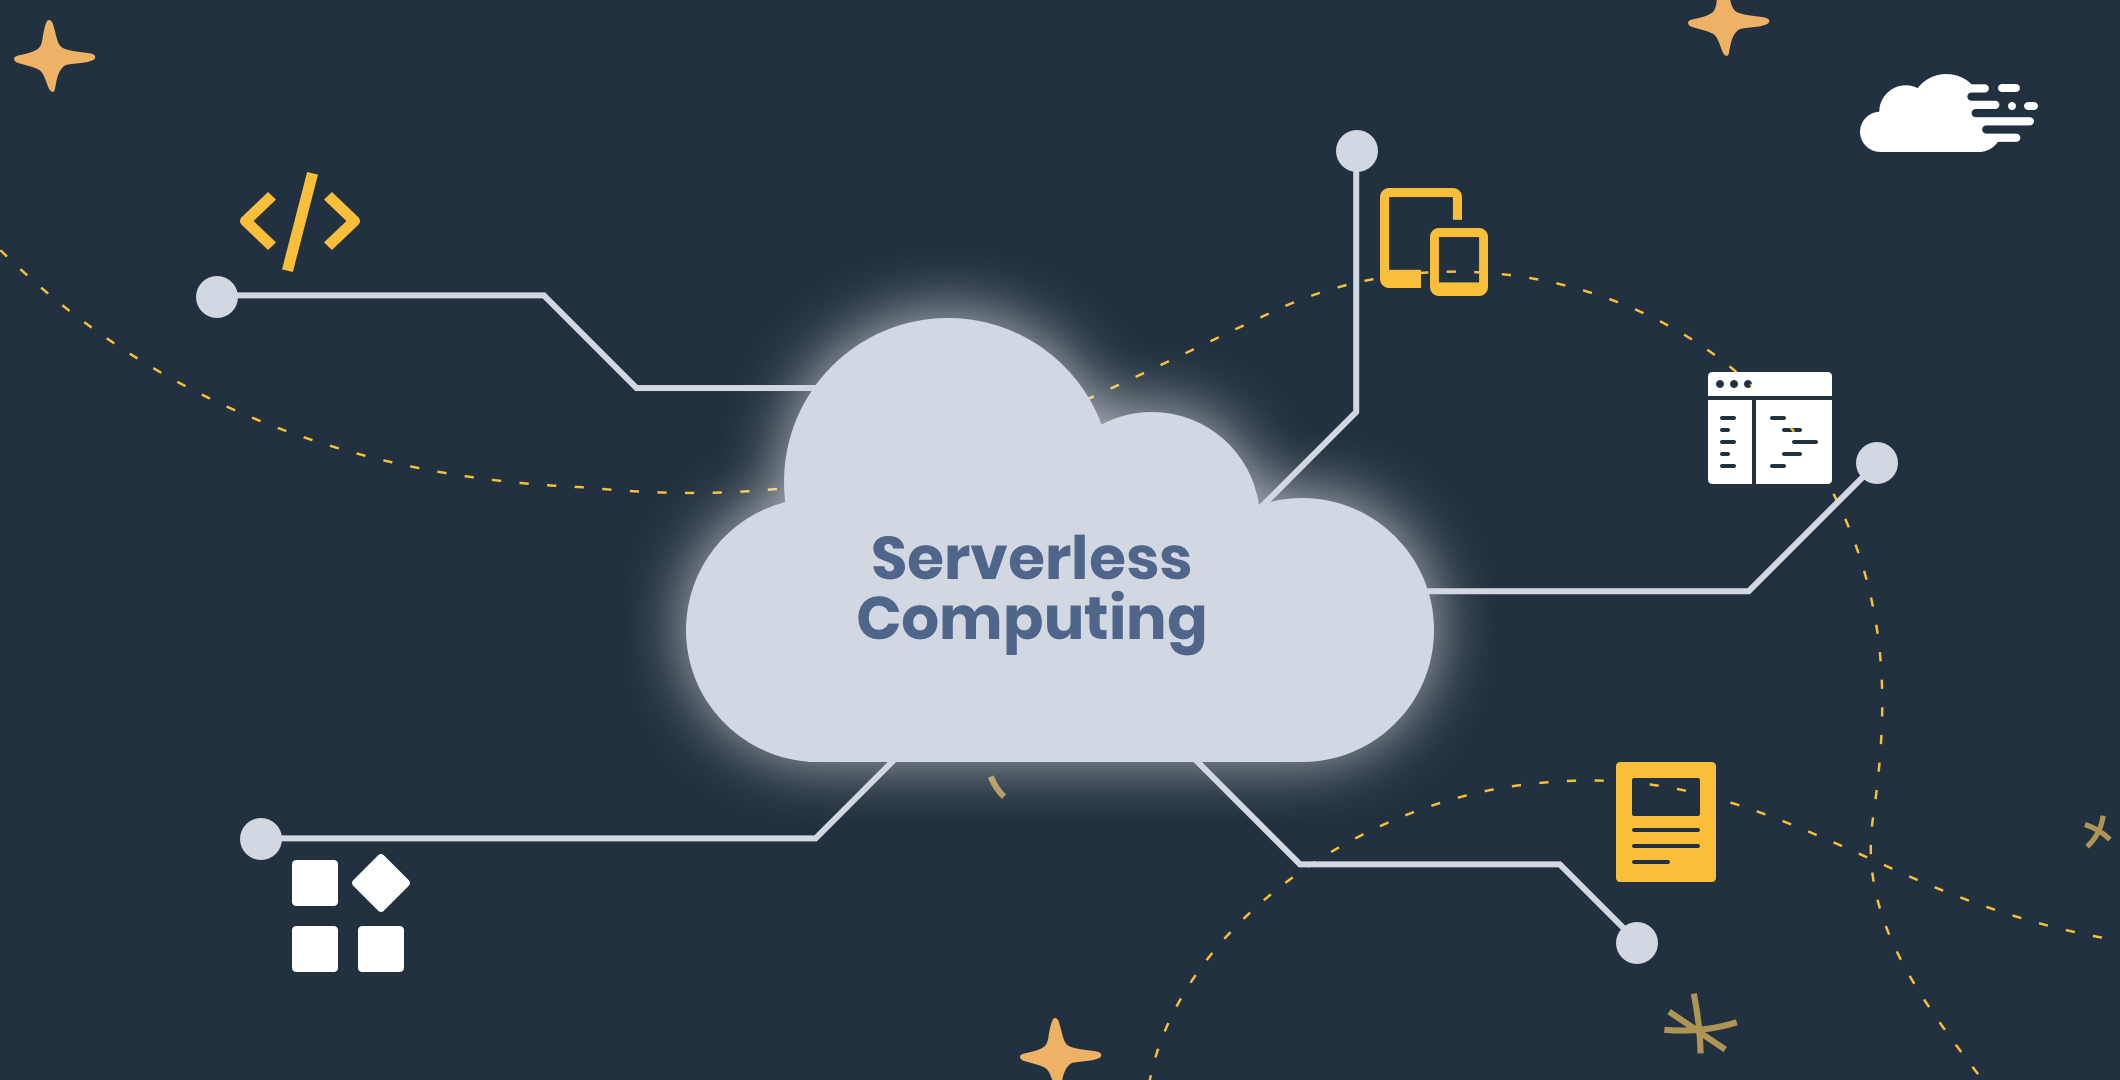
How I Created This Serverless Website (Tutorial Intro)

This is the introduction to a multipart tutorial on how to create your own personal serverless website to write your own blogs and showcase your projects! We will go step-by-step through the whole process - we will set up an AWS account, go over the Serverless Framework, bring up some AWS infrastructure, write some HTML and CSS, configure SSL, and write a backend API or two. Just a warning this will not be free, but it will be very cheap!
Why serverless?
Setting up a web server will always have a cost. If you use a cloud provider to provision a server, even the smallest server will come at a minimum cost per month. You can provision a tiny AWS "T2.nano" server for around $4.20 per month, or a more reasonable "T2.micro" for around $8 per month. Our serverless application will be hosted on AWS S3 object-based storage which costs $0.023 per GB of data per month, and AWS Cloudfront content delivery network which costs $0.085 for the first 10TB of data served per month. If your site has relatively low traffic, this serverless deployment should cost under $1 per month (there will be some other small fees which will be talked about later).
In addition to cost, going serverless will save you something even more valuable: time. You don't have to maintain a server, upgrade the operating system, patch vulnerabilities, etc. AWS serves the content directly from your S3 bucket. When we get to creating a backend, AWS serverless Lambda functions provide their own runtime and compute. You implement their function handler and Lambda will run your code for you, so all you have to do is maintain your code!
Let's Get Started
Go to the next post for part 1 of the tutorial!
Creating a Static Serverless Website Using AWS and Infrastructure as Code (Tutorial Part 1)